Editing Images From the Terminal With ImageMagick
ImageMagick is free and open-source software that allows you to accomplish tasks on images from the command-line.
- Have you ever opened Photoshop just to resize an image?
- Or used an online service to upload an image and download the same image into a different format?
- Or lost time trying to manually remove the margin from a transparent image?
- Or tried to apply transparency to an image?
If you said "yes" to any of the questions above, I'll teach you how to efficiently do those tasks.
Table of Contents
Installing ImageMagick
If you use GNU/Linux you probably don't need to install it, it probably already came installed with your distribution. Try running magick --version in your terminal to check if you have it installed.
Official ImageMagick download page
Editing images
Converting
You use the convert command to use ImageMagick (in newer versions you should use magick instead). You pass the image with its format and expect a new image (you can use whatever name you want) with a new format, like this:
convert old-image.jpg new-image.png
Resizing
You can pass the -resize flag to resize an image with a size in pixels or percentage. Also, you could pass options to ignore aspect ratio, for example.
convert -resize 512x512 image.jpg resized-image.jpg
You can even batch resize all images in a folder. In this example, I'm choosing 736 pixels for width and letting ImageMagick handle the height:
convert -resize 736x ./*.jpg
You can combine tasks, like resizing and converting an image, in one line.
Adding transparency
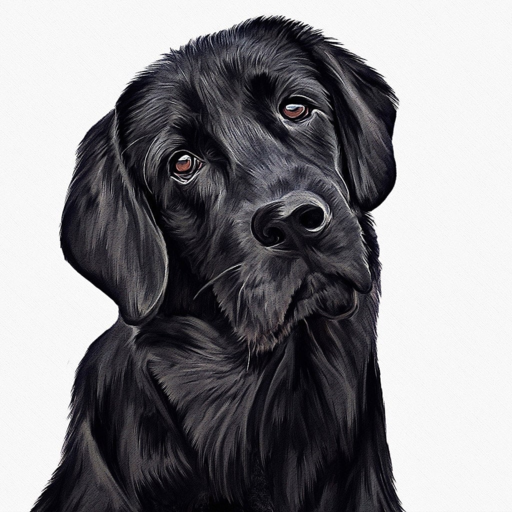
Take this drawing of a black dog on a white background.

Let's remove the background:
convert -transparent white dog.jpg wrong-dog.png
Wait, what happened?! The background is not completely transparent.
The problem is that the background is not 100% white, it has some light shades of gray. We told ImageMagick to only apply transparency to white color. To fix this, you can tweak with -fuzz flag so colors that are close to white will be considered white, like this:
convert -transparent white -fuzz 30% \
dog.jpg transparent-dog.png
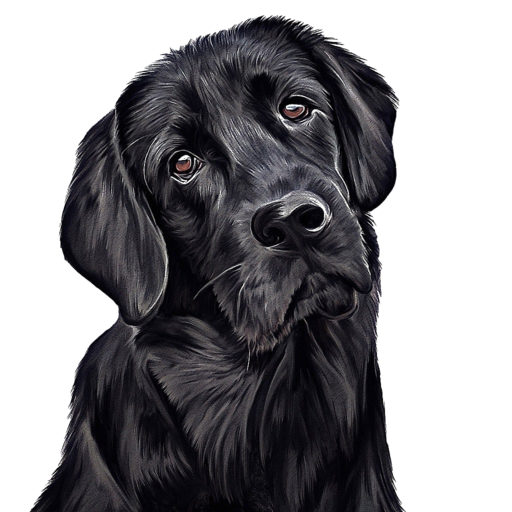
Every case is different, so you need to try different values for
-fuzz.
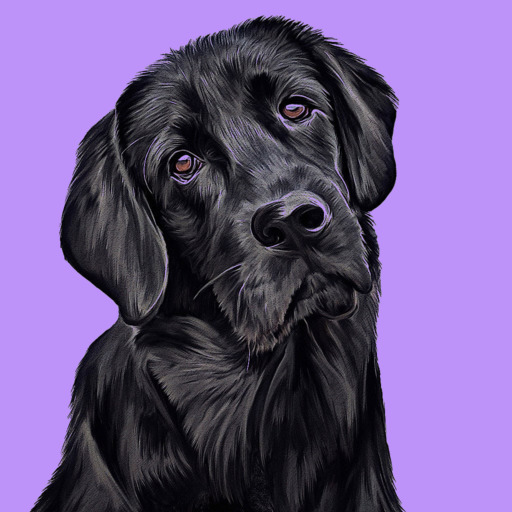
Applying color
Now, let's do the opposite and apply some color to the background:
convert -background '#bd93f9' -flatten \
transparent-dog.png purple-dog.jpg
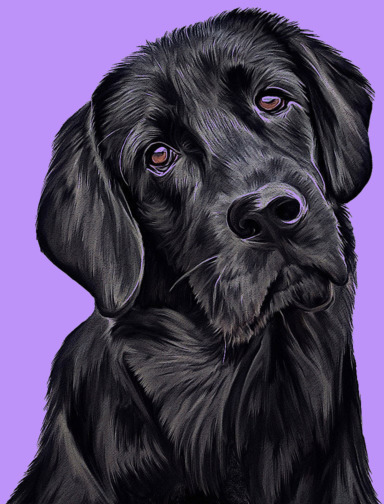
Trimming
Let's crop the empty space around the image above:
convert -trim purple-dog.jpg trimmed-dog.jpg
Optimizing images
You can optimize JPG images using the snippet below:
convert image-unoptimized.jpg \
  -sampling-factor 4:2:0 \
  -strip \
  -quality 85 \
  -interlace JPEG \
  -colorspace RGB \
  image-pagespeed.jpg
This strategy focuses on following Google Lighthouse's guide on how to pass the "Optimize Images" Lighthouse audit in Chrome DevTools. Read more on this Stack Overflow post.
Creating images
You can use ImageMagick to create simple images with text:
convert -background '#0f1523' \
  -fill red \
  -font Fira-Code-Bold \
  -size 512x512 \
  -pointsize 30 \
  -gravity center \
  label:'How to create an image\nlike this one using\nImageMagick' \
  imagemagick.jpg

That's all Folks!
By the way, the equivalent of ImageMagick for video and audio is called FFmpeg. You can use it to record your screen or webcam, convert videos into different formats, or even make simple edits.